Experimenting with Air Pump Hardware
Order from 2016-12-17 came in.
Construction
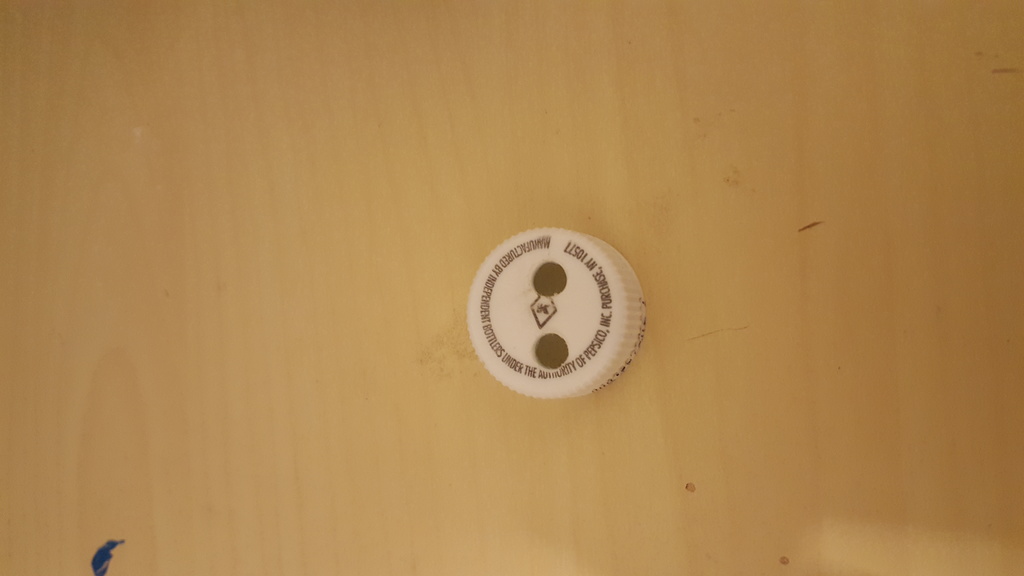
- Took a seltzer bottle cap and drilled two 1/4" holes in it.
Test Procedure
-
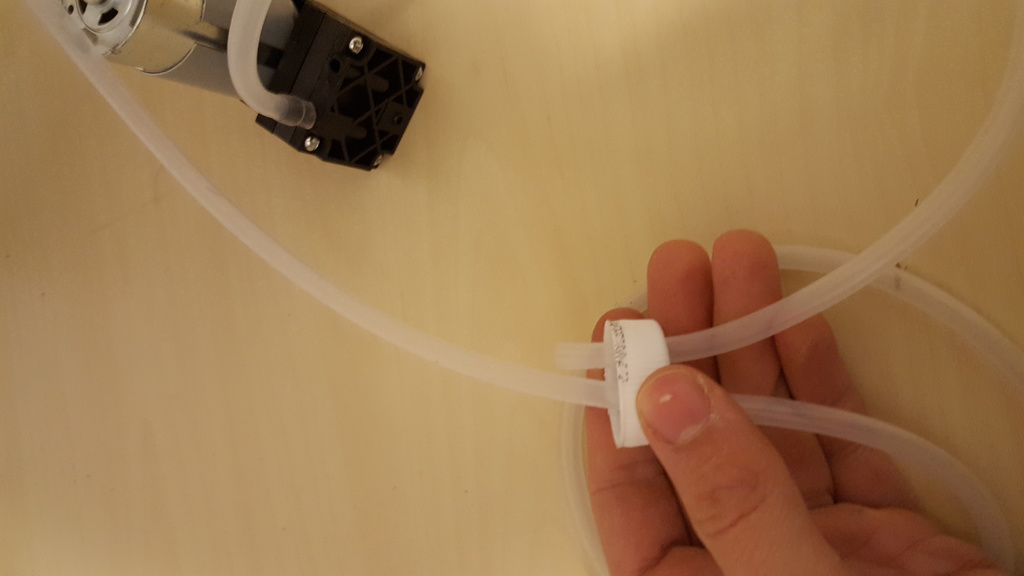
Hooked up 12V accross pump, do to the construction of the pump the polarity did not matter. the nozzle that broke off in shipment was for running the device as a vaccuum. I can still use the pump. It pumps in either direction, so polarity does not seem to matter.
-
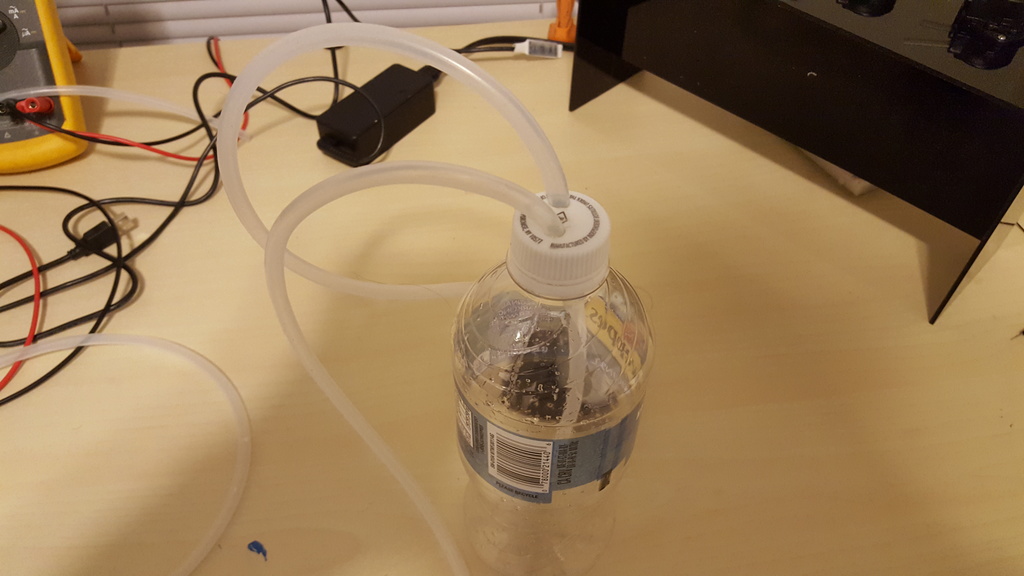
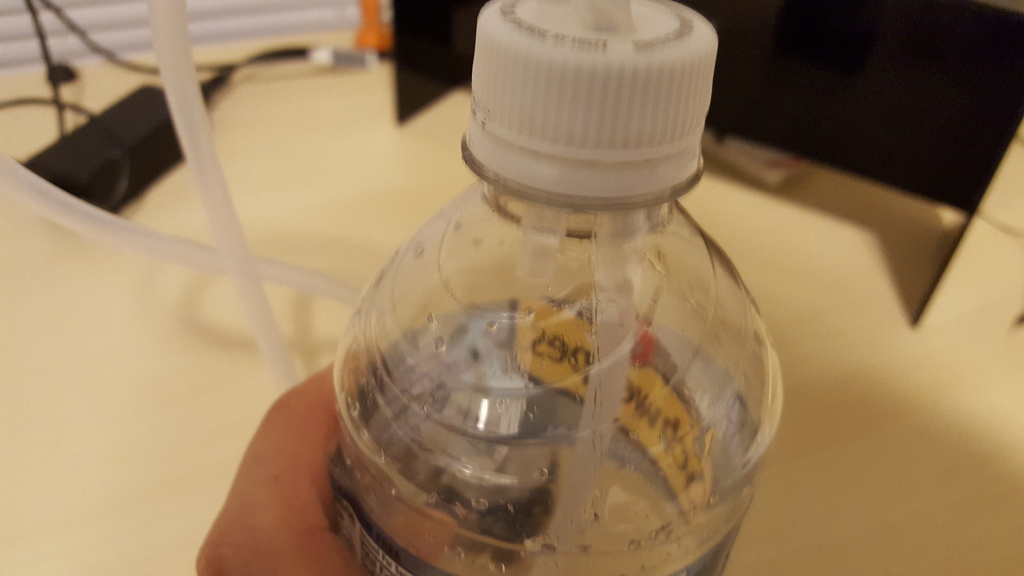
Once I turned on power the pump ran and the air started pumping. It used a lot of current to keep the motor running (No measurements yet). There was a lot of vibration, and the motor bounced itself across my table. I am uncertain about how to mount it yet since there are no mounting flanges and my base is not sturdy enough for the vibrations. I want to try it with carboanted beverages next to make sure it will work well with them.
Video
Conclusion
Seems to work pretty well. I do need to measure pump rates, but other than that it seems pretty straight forward to me. It should work well.
Resources
- See the previous recipe for the parts list.